
CREATING A VISION BOARD: A STEP BY STEP GUIDE TO MANIFESTING YOUR DREAMS
A vision board is a powerful tool used to help individuals clarify, focus, and manifest their goals and desires. It’s a visual representation of what you want to achieve in your life, and it serves as a reminder of your intentions and aspirations. In this article, we’ll take you through a step-by-step guide on how to create a vision board that truly reflects your desires and helps you manifest your dreams.
WHAT IS A VISION BOARD
A vision board is a board or paper that is filled with images, words, and other materials that represent your goals, desires, and intentions. It’s a way to visualize what you want to achieve in your life, and it helps you to focus on what’s truly important to you.
13 TRENDY BATHROOM DESIGNS FOR TEENS
BENEFITS OF CREATING A VISION BOARD
Creating a vision board has numerous benefits, including:
• CLARIFIES YOUR GOALS
A vision board helps you to clarify what you truly want to achieve in your life.
• FOCUSES YOUR INTENTION
By creating a vision board, you’re able to focus your intentions and desires, which helps you to stay motivated and directed.
• BOOSTS POSITIVITY
A vision board is a constant reminder of what you want to achieve, which helps to boost your positivity and confidence.
• ATTRACTS ABUNDANCE
A vision board can help to attract abundance and prosperity into your life by focusing on what you want to achieve.
MATERIALS NEEDED FOR CREATE A VISION BOARD
To create a vision board, you’ll need the following materials:
• BOARD OR PAPER
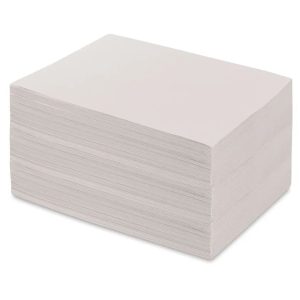
” Picture credit -Pinterest.com”
You can use a corkboard, foam board, or even a piece of cardboard as the base of your vision board. Alternatively, you can use a large piece of paper or poster board.
31 TRENDY BALCONY DECOR IDEAS AND ESSENTIALS
• MAGAZINES

” Picture credit -Pinterest.com”
Gather a variety of magazines that resonate with your interests and desires. Flip through the pages and tear out images and words that inspire you.
• SCISSORS
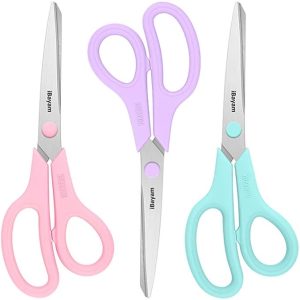
” Picture credit -Pinterest.com”
Use scissors to cut out the images and words that you’ve torn from the magazines. And make sure you cut them well.
27 WAYS TO CELEBRATE YOUR 19TH BIRTHDAY ON A BUDGET
• GLUE
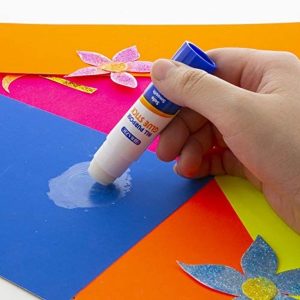
” Picture credit -Pinterest.com”
Use a glue stick or decoupage medium to attach the images and words to your vision board. And make sure it’s clean and neat.
• MARKERS OR COLORED PENCIL
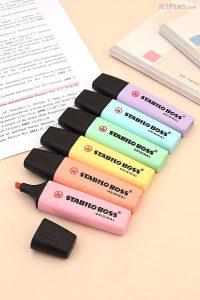
” Picture credit -Pinterest.com”
Use markers or colored pencils to add color and decoration to your vision board. To give it a unique look according to your style and personality.
• PHOTOS AND PERSONAL ITEMS

” Picture credit -Pinterest.com”
Include personal items such as photos, ticket stubs, magazines, or other aesthetic mementos that hold meaning for you.
STEP-BY-STEP GUIDE FOR CREATING A VISION BOARD
Now that you have all the materials you need, let’s get started on creating your vision board. Here’s a step-by-step guide to help you get started:
1. DEFINE YOUR INTENTIONS FOR YOUR VISION BOARD
Before you start creating your vision board, take some time to reflect on what you want to achieve. What are your goals and desires? What do you want to manifest in your life?
2. GATHER IMAGES AND WORDS FOR YOUR VISION BOARD
Flip through the magazines and gather images and words that resonate with your intentions. Tear out the pages and cut out the images and words that inspire you.
3. ARRANGE YOUR IMAGES AND WORDS FOR YOUR VISION BOARD
Start arranging your images and words on your vision board. Group similar items together, and create a visual flow that makes sense to you.
4. ADD COLOR AND DECORATIONS TO YOUR VISION BOARD
Use markers or colored pencils to add color and decoration to your vision board. You can also add stickers, stamps, or other embellishments to make your vision board more visually appealing.
5. ADD PERSONAL ITEMS
Include personal items such as photos, ticket stubs, or other mementos that hold meaning for you. These items will help to make your vision board more personal and meaningful.
6. MAKE IT LOOK REAL
When creating your vision board make sure it’s something you know you can achieve or your willing to achieve, making an unrealistic vision board doesn’t give you enough confidence as it should. Make sure everything you put in place are things that you set your mind to and you know you can get them.
7. FINALIZE YOUR VISION BOARD
Once you’ve arranged all your images and words, take a step back and evaluate your vision board. Make any necessary adjustments, and then finalize your vision board by gluing everything in place.
TIPS AND VARIATION FOR CREATING A VISION BOARD
Here are some tips and variations to help you create a unique and effective vision board:
• MAKE IT POSITIVE
Focus on what you want to achieve, rather than what you don’t want. Use positive language and images to create a positive and uplifting vision board.
• MAKE IT PERSONAL
Include personal items and images that hold meaning for you. This will help to make your vision board more personal and meaningful.
• MAKE IT VISUAL
Use images and colors to create a visually appealing vision board. This will help to make your vision board more engaging and effective.
31 TRENDY BALCONY DECOR IDEAS AND ESSENTIALS
• CREATE A DIGITAL VISION BOARD
If you prefer working digitally, you can create a digital vision board using a tool like Canva or Pinterest.
• CREATE A MINI VISION BOARD
If you don’t have space for a large vision board, you can create a mini vision board using a small piece of paper or an index card.
CONCLUSION
Creating a vision board is a powerful way to clarify your intentions, focus your energy, and manifest your desires. By following the steps outlined in this article, you can create a vision board that truly reflects your goals and aspirations. Remember to use your vision board regularly, and don’t be afraid to experiment with advanced techniques to get the most out of your vision board. With patience, persistence, and a clear vision, you can achieve your dreams and make your vision a reality.
IMAGE CREDITS – pinterest.com